Zentangle, if you haven't heard about it, is an art form created by Rick Roberts and Maria Thomas. It is completely addictive. Zentangle is a registered trademark of Zentangle, Inc. and more information about this fascinating art is found at zentangle.com. I cannot even attempt to tell the story as they do, so I encourage you to visit their website. You won't be sorry you did!
It started with me when I saw an ad in my local paper for joining a class. I was intrigued, so I signed up and took my then 20 year old daughter with me as a birthday present for her. I knew it would be right up her alley. We had a blast and then we were completely hooked. Needless to say, all 3 of my children, who I've always encouraged in art as they see it, received a beautiful kit for Christmas from Mom. I'm happy to say, that we're all thoroughly enjoying each others' art and the special peace that tangling brings. As it turned out, Rick and Maria are from the same small town I grew up in and went to school with my brothers and sisters. I was completely overwhelmed by their hospitality, sunny dispositions and general good will, that I wish them all the success in the world. It's quite an amazing thing they've created and chosen to share.
Try it...you'll see.
Here are a few of my tangles
And here are some from my 2 daughters and my son
Theirs are done on actual Zentangle tiles, while mine are done in a small sketchbook, hence the color variation in the pictures. They are quite remarkable aren't they?
And you don't need an ounce of artistic ability to be able to do this! ANYONE CAN DO IT!
Give it a try and have fun!!!
January 17, 2012
December 30, 2011
Learn a Simple Tea Bag Fold
Start off with 8 equal squares of scrapbook paper, wrapping paper, or maybe even some on the web that you can print out. The squares can be any size. Mine here, are 3" square and once assembled, gives you almost a 5.5" bow. These are great for embellishments and greeting cards too.
| The Beginning |
You'll need 8 pieces of printed paper.
A bone folder (or pencil) to get your creases tightly folded.
Glue...you'll see here I pictured plain white craft glue, but I ended up using a glue stick towards the end. Either one will work.
| . |
Turn paper over, printed side down.
Fold in half, then unfold.
Fold in half again in opposite direction and unfold. You now have a center point.
Fold all four corners into the center, so the end result looks like a smaller square (below).
Take the left and right corners and fold into the center and flip over as pictured below.
Fold the bottom corner up as shown and continue to fold the
remaining pieces of paper in the same fashion.
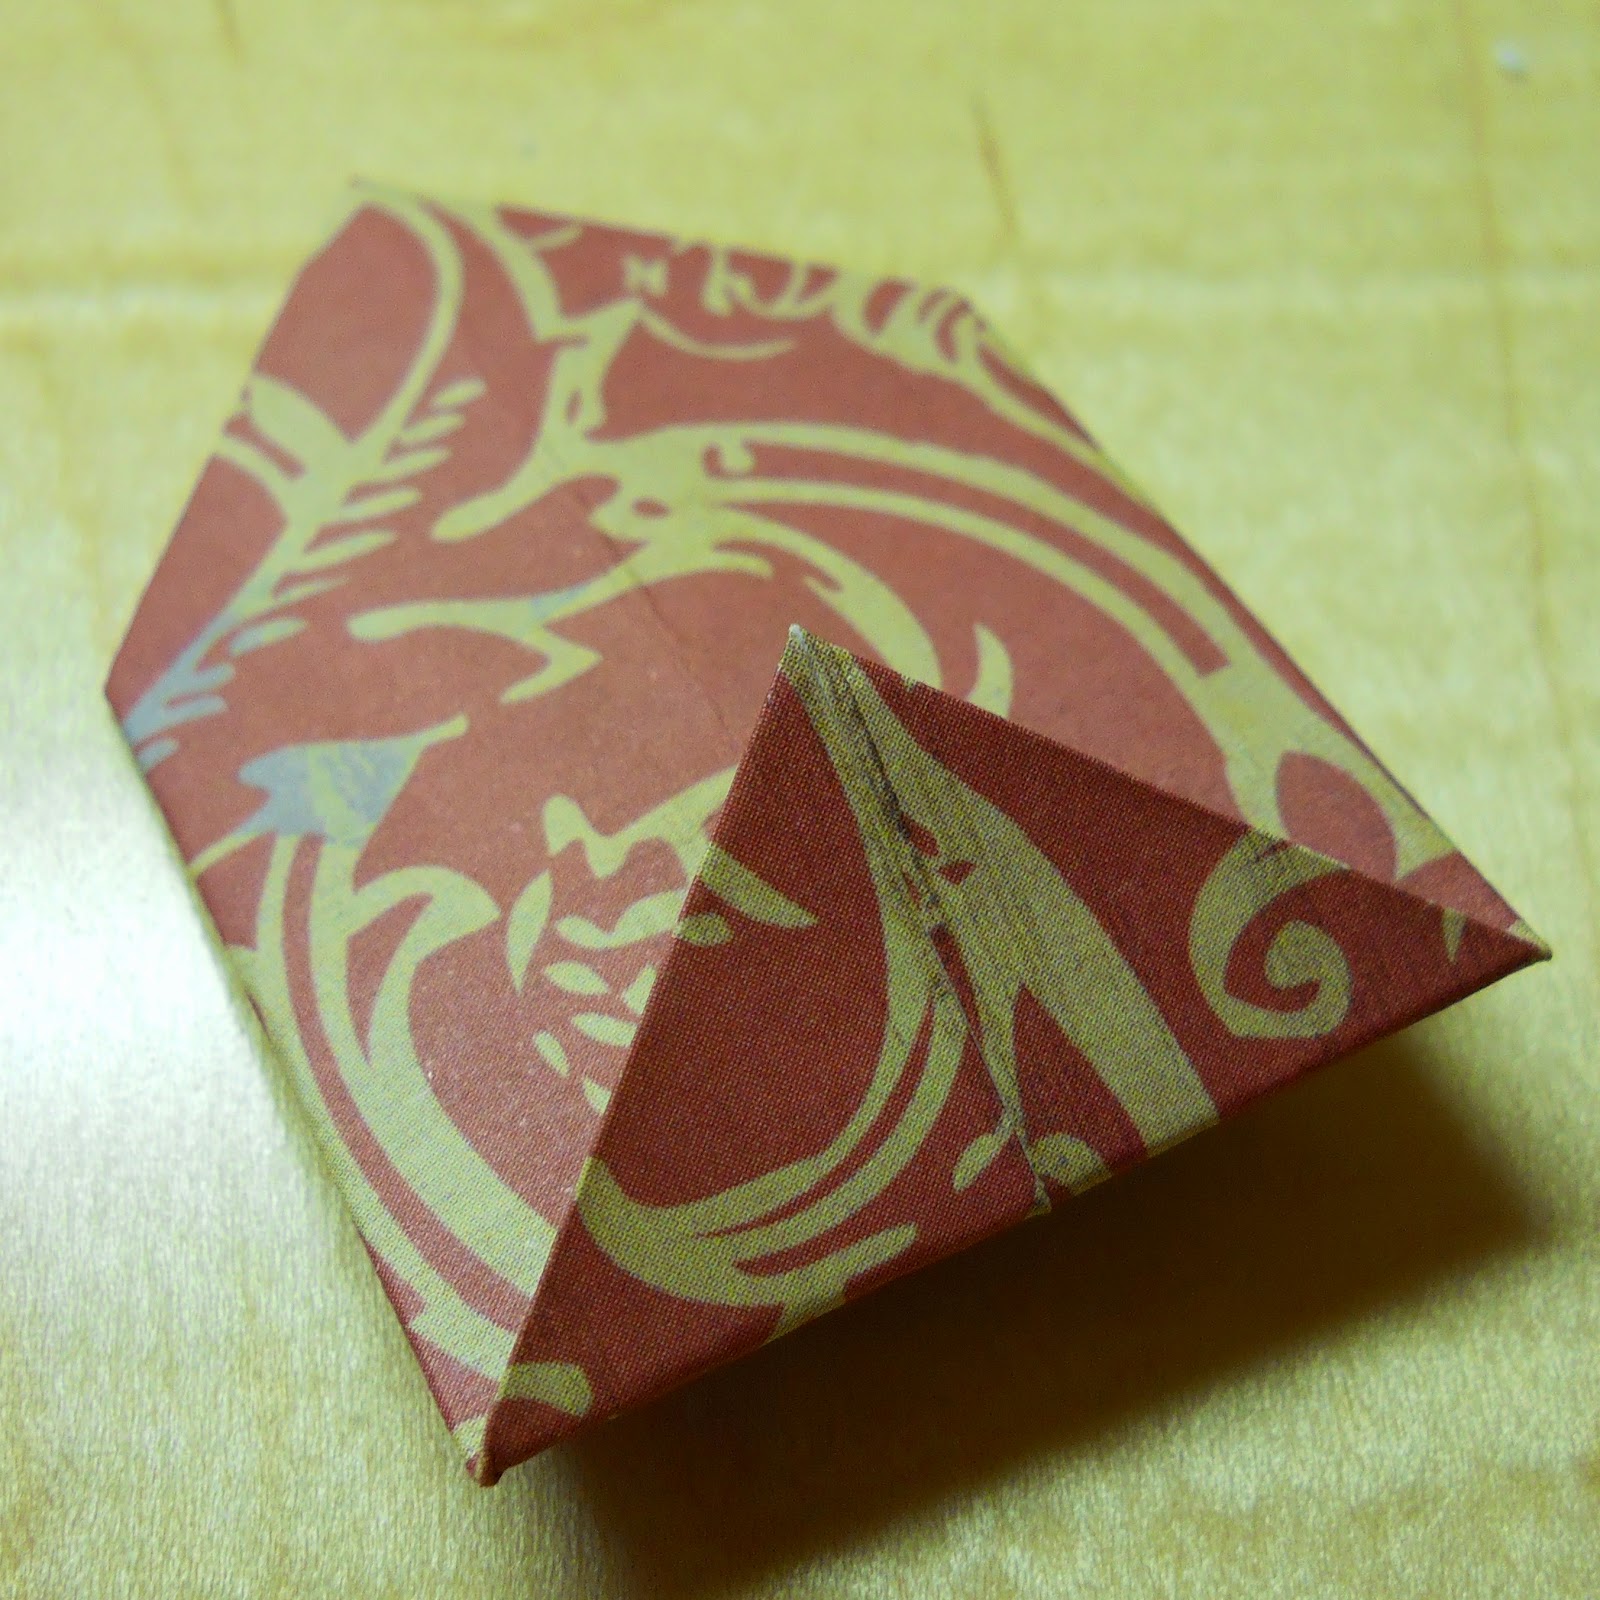
The left corner of each piece slides into the tab created in the last fold. As you connect them, they'll take shape of a star.
Here are 3 squares put together.
Here are 6. Notice the purple area on the right of the top piece. I love purple, so naturally I have a purple glue stick! lol I just put a dab of glue on the right side and slide the left side into the tab and press.
Once you have them all together, you may have to adjust the placement. Luckily the glue hasn't completely dried and you should be able to slide them around a bit.
And here's a finished star with an open center. You can glue a coordinating piece of card stock on the back if you'd like. I usually finish mine off with a gemstone in the middle.
Here are my finished bows adorning Christmas gifts I made for my brothers and sisters.
When attaching them to a gift or card, I just simply use double-sided tape, but glue would work just as well if that's all you have.
Give these a try! They're really very easy to make, and if you want to do a bunch at a time, you can do all the folding first, and then the assembly second. P.S. I usually let them dry flat under a heavy book. What a great way to use up some small pieces of paper!
September 28, 2011
The Mini Pizza Piel
Well, here it is...Jack's English Muffin Pizza Piel! He just couldn't burn these pieces of maple.
I can honestly say that I used to wonder where he gets some of his crazy ideas, but over the years, I just learned not to question it. If he wants to make it happen, he will make it happen.
So here it is. After making a large one for us, (which I must say, gets used regularly), he picked up these scraps, lined them up, and thought a mini piel would be cute. So he asked me, and of course I agreed. He asked with that look in his eye. So I knew sooner or later, I would see this masterpiece.
And you know what? It is cute. And it's so smooth. And yes, it works well with english muffins. And wait, it's a heavy duty fly swatter, or my personal favorite, the butt patter. :) Then, it mysteriously becomes a conversation piece, because you can't resist picking it up.
Something that could be handed down for generations with your family stories. It can be hand painted with a monogram or any other design for use as a decoration. If you have something in mind, check out our shop 2heartsdesire@etsy.com. Send us an email anytime!
I can honestly say that I used to wonder where he gets some of his crazy ideas, but over the years, I just learned not to question it. If he wants to make it happen, he will make it happen.
So here it is. After making a large one for us, (which I must say, gets used regularly), he picked up these scraps, lined them up, and thought a mini piel would be cute. So he asked me, and of course I agreed. He asked with that look in his eye. So I knew sooner or later, I would see this masterpiece.
And you know what? It is cute. And it's so smooth. And yes, it works well with english muffins. And wait, it's a heavy duty fly swatter, or my personal favorite, the butt patter. :) Then, it mysteriously becomes a conversation piece, because you can't resist picking it up.
Something that could be handed down for generations with your family stories. It can be hand painted with a monogram or any other design for use as a decoration. If you have something in mind, check out our shop 2heartsdesire@etsy.com. Send us an email anytime!
September 11, 2011
In Rememberance
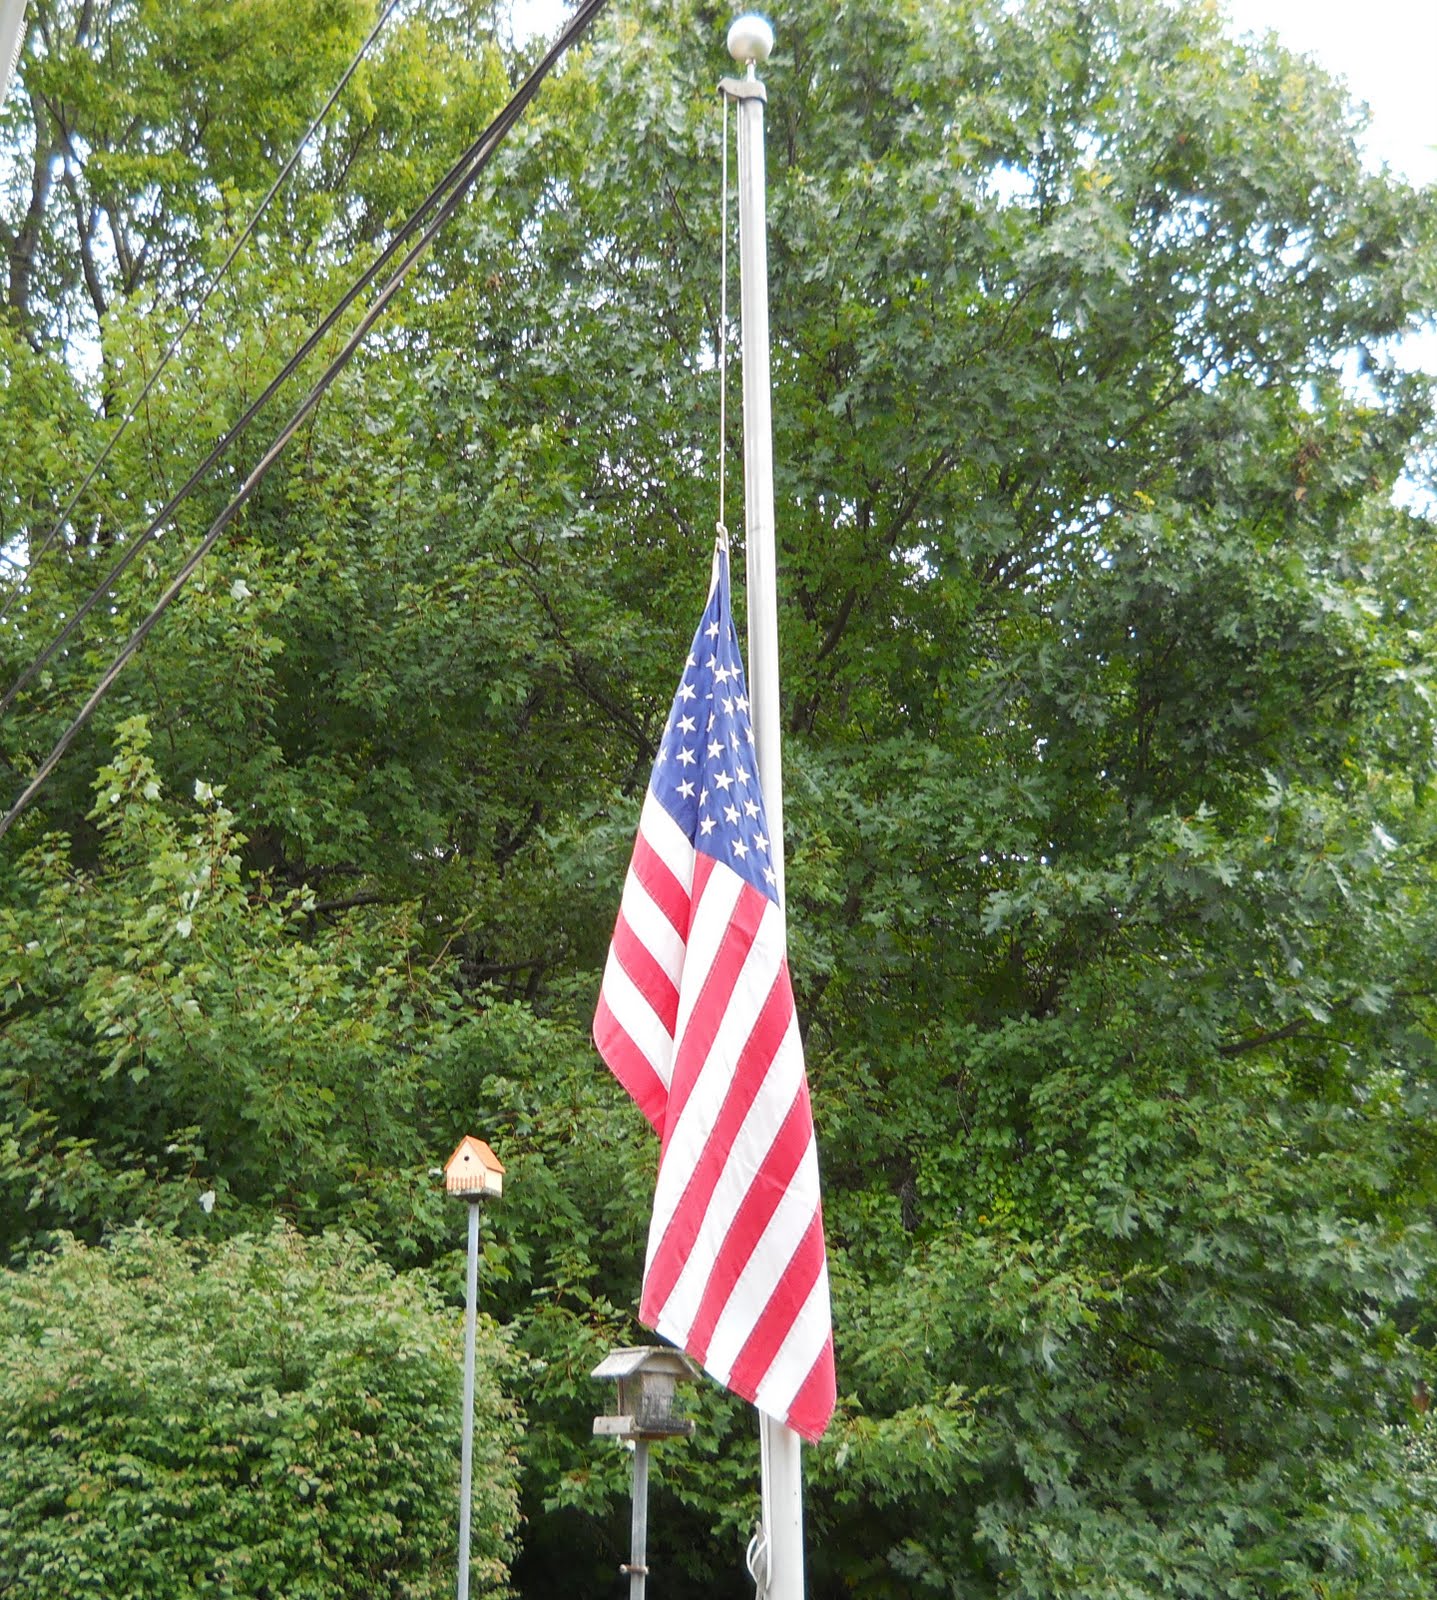
In honor and memory of all those who lost their lives, and the families and friends left behind that fateful day ten years ago, my flag flies quietly at half mast today. My thoughts and prayers will continue to be with you.
Repurposed Butter Tubs
So, I was sitting in my office/workroom doing
something completely different, when I looked up and saw my Land O Lakes light butter tubs. I use them constantly, (and have many) for my scrapbooking treasures like cut-outs, silk and paper flowers, little odds and ends that I don't want to throw away, but will use in some fashion....and on and on. I'm sure that if you like to scrapbook, you'll love these little gems. I thought, "what can I do with these, and how else can they be used"? In my first attempt to jazz these up a little bit, I found myself lost in my sticker box. What fun! A little bit of spray paint (for plastic, Fushion by Krylon works great), some embellishments and voila! A little place to store q-tips, cotton balls, coins, keys, or anything else you can think of! They measure roughly 5.5" long, 3" wide and 2" deep. The covers snap on securely, and if you don't put anything "raised" on the top, they stack and nest quite nicely. My grandmother, who grew up in the great depression, was a whiz at re-purposing things, from crocheting baskets with strips of bread bags to making rugs with scraps of wool. She was truly "green" before being green became a choice. I'll be sharing more of her talents in later postings.
Subscribe to:
Posts (Atom)